A README is the first thing anyone sees when they open your project. On GitHub, GitLab, and Bitbucket, a file named README.md is rendered automatically on the repository’s front page, so it works as the project’s introduction, its instruction manual, and often its first impression on a future employer or contributor.
Writing one is simpler than it looks. You create a plain-text file called README.md, write the content using Markdown syntax, and the platform turns your #, **, and - characters into headings, bold text, and lists. The rest is knowing which sections to include and keeping a Markdown cheat sheet handy for the formatting. This guide walks through both.
What a README File Actually Does
Think of the README as the front door to your code. A visitor should be able to answer four questions within a few seconds of landing on the page:
- What is this project?
- Why would I use it?
- How do I install and run it?
- Where do I go if I get stuck?
If your README answers those clearly, people stay. If it’s empty or confusing, they leave, even if the underlying code is excellent. This matters for open-source projects hoping to attract contributors, but it’s just as useful for a private team repo or a personal portfolio piece you want a recruiter to understand quickly.
Start With the Right File: README.md
The filename is not arbitrary. Most hosting platforms look specifically for README.md in the root of the repository and display it automatically. A few practical rules:
- Name it
README.mdin all caps. This is the long-standing convention, and it keeps the file near the top of the file list. - Put it in the root folder, not inside a subdirectory, so the platform picks it up.
- The
.mdextension tells the platform to parse the file as Markdown rather than plain text.
You can write a README in a plain text editor, your code editor (VS Code, Sublime, and similar all handle Markdown), or a dedicated Markdown app. No special software is required.
Markdown Cheat Sheet: The Syntax You Need for a README
You don’t need every Markdown feature to write a strong README. The handful below covers almost everything you’ll use. Keep this Markdown cheat sheet open in a second tab while you write your first few files, and the syntax will stick quickly. For everything beyond the essentials, The Markdown Guide cheat sheet is a reliable reference.
Headings
Use # symbols for headings. One # is the largest (your project title), and each extra # steps down a level.
markdown
# Project Title
## Section
### Subsection
Stick to one # heading per file (your title) and don’t skip levels, for the same reason you wouldn’t in a web article: it keeps the structure readable and accessible.
Text Styling and Lists
markdown
**Bold text**
*Italic text*
~~Strikethrough~~

- Bullet item
- Another item

1. Numbered item
2. Second item
Links and Images
Links and images share almost the same syntax. An image is just a link with an exclamation mark in front of it.
markdown
[Link text](https://example.com)
For images stored inside your own repository, use a relative path like images/screenshot.png so the link keeps working wherever the repo is cloned.
Code Blocks
Code is where Markdown earns its place in a README. Wrap inline code in single backticks, and wrap larger blocks in triple backticks. Add the language name after the opening backticks to turn on syntax highlighting.
markdown
Install it with `npm install`.

```bash
git clone https://github.com/username/project.git
cd project
npm install
```
That language label (bash, python, json, and so on) is a small detail that makes installation instructions much easier to read.
Tables
Tables aren’t part of original Markdown, but GitHub Flavored Markdown and nearly every modern platform support them. They’re handy for listing configuration options or commands.
markdown
| Command        | Description            |
|----------------|------------------------|
| `npm start`    | Run the app locally    |
| `npm test`     | Run the test suite     |
Task Lists, Quotes, and Callouts
Task lists render as checkboxes and are useful for roadmaps. Blockquotes work well for notes and warnings.
markdown
- [x] Core feature finished
- [ ] Documentation in progress

> Note: this project requires Node.js 18 or newer.
GitHub also supports special alert blocks such as > [!NOTE] and > [!WARNING], which render as coloured callouts. These are GitHub-specific, so they’ll appear as ordinary quotes on platforms that don’t support them. It’s worth checking GitHub’s basic writing and formatting syntax before relying on platform-only features.
A README Structure That Works
There’s no single mandatory layout, and short projects don’t need every section. But most useful READMEs follow a recognisable order, moving from “what is this” to “how do I use it” to “how do I contribute.” If you want a section-by-section checklist to work from, Make a README is a widely used guide. Include at least the first five of these:
- Title and short description. One or two sentences on what the project does and who it’s for.
- Installation. The exact steps to get it running, including any prerequisites.
- Usage. A quick example showing the project in action, ideally with a code block.
- Configuration or options (if relevant). Environment variables, flags, or settings.
- License. The terms under which people can use your code.
- Contributing (for open projects). How others can report issues or submit changes.
- Screenshots or a demo (for visual projects). A single image often explains more than a paragraph.
For larger projects, a short table of contents near the top helps people jump to the section they need. For a two-file hobby project, that’s overkill. Match the depth of the README to the size of the project, not the other way around.
A Minimal README Template to Copy and Adapt
Here’s a compact starting point. Replace the placeholder text and delete any sections you don’t need.
markdown
# Project Name

A one-line description of what this project does.

## Installation

```bash
git clone https://github.com/username/project.git
cd project
npm install
```

## Usage

```bash
npm start
```

Describe a basic example of how to use the project here.

## Configuration

| Option      | Default | Description              |
|-------------|---------|--------------------------|
| `PORT`      | `3000`  | Port the server runs on  |

## Contributing

Pull requests are welcome. For major changes, open an issue first
to discuss what you'd like to change.

## License

[MIT](LICENSE)
Preview Before You Commit
Markdown is easy to get slightly wrong, usually a missing blank line that breaks a list, or a code fence that isn’t closed. Preview your file before pushing it so you catch these early.
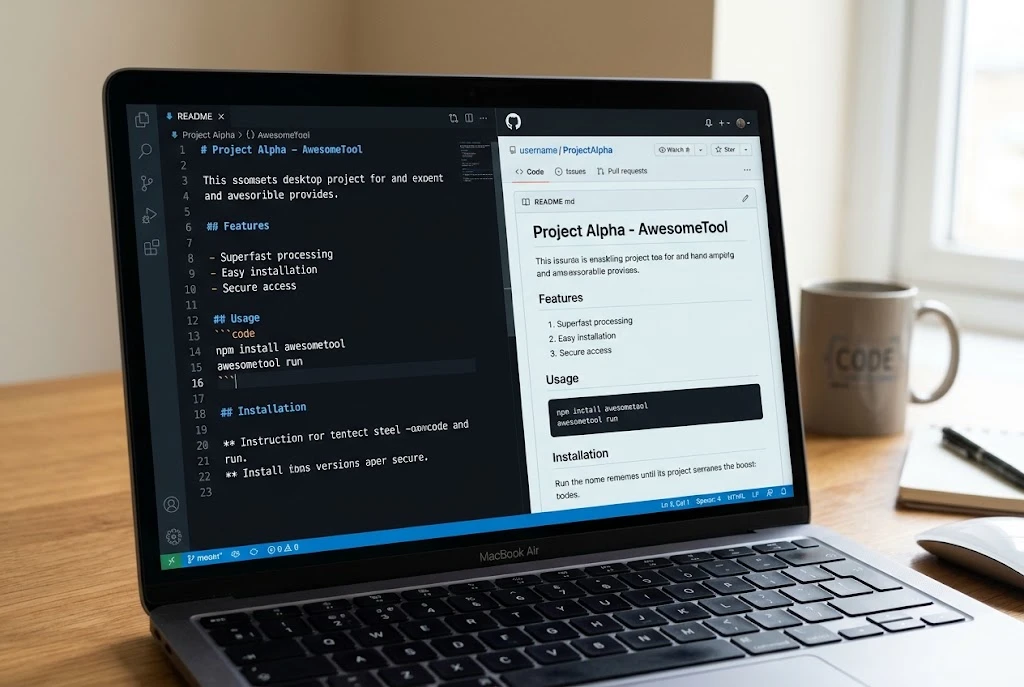
Most editors have a built-in Markdown preview (in VS Code, open the preview pane with the preview button or Ctrl+Shift+V). You can also paste your text into any online Markdown previewer. On GitHub itself, the “Preview” tab shows exactly how the file will render once committed, which is the most reliable check since it uses GitHub’s own flavour of Markdown.
Common README Mistakes
A few issues come up again and again:
- No installation steps. People can’t use what they can’t set up. Spell out the commands.
- Code shown as plain text. Forgetting the triple backticks makes commands hard to copy and read.
- Broken image links. Absolute links to a local machine won’t work for anyone else. Use relative paths for repo images.
- Letting it go stale. A README that describes an old version of the project is worse than a short one that’s accurate. Update it whenever you change a setup step or add a major feature.
- Writing for yourself, not the reader. You know how the project works. Assume the reader is seeing it for the first time.
Conclusion
Writing a README in Markdown comes down to two things: knowing the handful of syntax you’ll actually use, and structuring the file so a newcomer can get from “what is this?” to “it’s running” without friction. Start with the title, description, installation, and usage sections, format them with the Markdown cheat sheet above, preview the result, and keep the file current as your project grows. A clear README rarely takes more than an hour to write, and it’s often the difference between a project people use and one they scroll past.
FAQ
What’s the difference between Markdown and a README? Markdown is the formatting language. A README is a specific document (usually README.md) that uses Markdown to explain a project. Markdown is the “how,” the README is the “what.”
Does the file have to be named README.md? For automatic rendering on platforms like GitHub and GitLab, yes, use README.md in the root folder. You can technically use .markdown as the extension, but .md is the standard.
Do I need to know how to code to write a README? No. Markdown is plain text with a few symbols. If you can write an email, you can write a README. The syntax takes about ten minutes to learn.
Will my README look the same everywhere? Mostly, but not exactly. Basic syntax (headings, bold, lists, links) is universal. Extended features like tables, task lists, and coloured alert boxes depend on the platform, so preview on the site where it will actually live.
How long should a README be? As long as it needs to be and no longer. A small project might need five short sections; a large library might need a table of contents and linked documentation. Don’t pad it to look thorough.